Blog Overview
Wood siding often fails due to moisture, rot or old paint. Repair by replacing damaged boards, prepping the surface, and refinishing to protect your home and restore its look.
Blog Discussion Points:
- Identify soft or rotten siding boards
- Remove loose paint and prep surface
- Replace damaged boards with matching timber
- Prime bare timber and apply two coats of exterior paint
- Check gutters, mulch and seals to prevent repeat damage
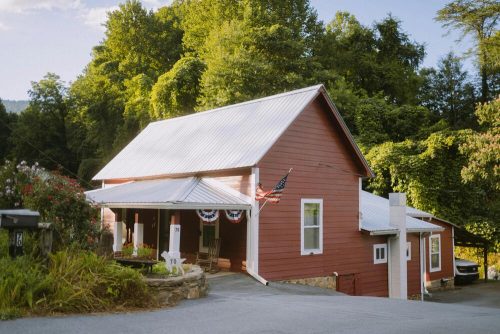
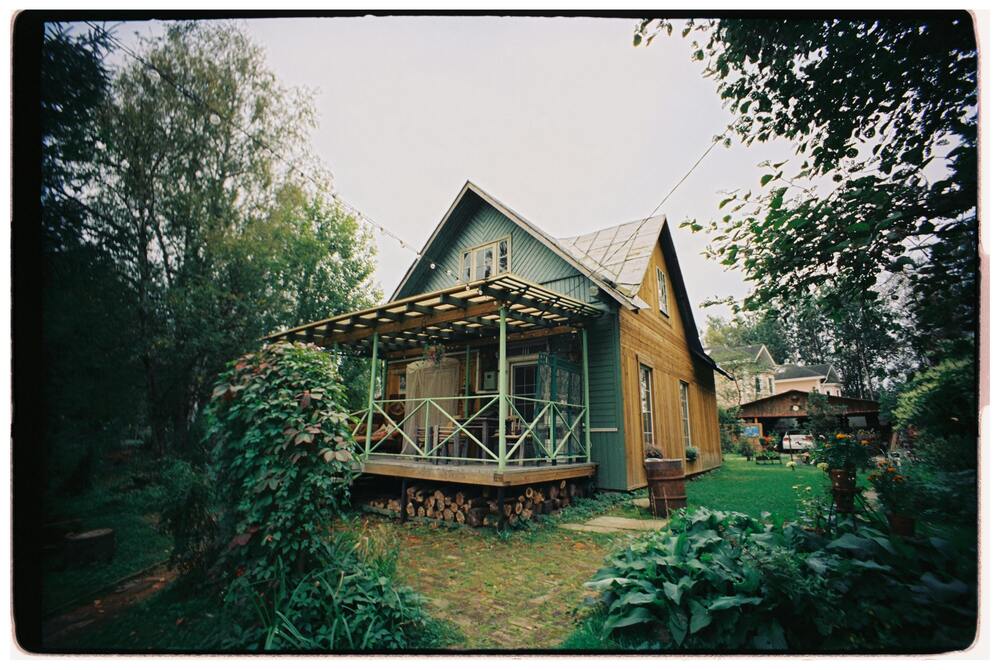
Wood siding—often called weatherboards or timber cladding here in Australia—lends a timeless character and warmth to any house. From a classic Queenslander to a modern coastal build, timber exterior cladding is a hallmark of the Australian home. However, timber is a natural material and is constantly exposed to our harsh climate, leading to common issues like rot, splitting, and peeling paint.
Neglecting these issues not only damages the aesthetics of your home but can lead to structural problems down the line as water penetrates deeper into the wall cavity. Fortunately, most repairs to wood siding are manageable for the dedicated homeowner. This detailed guide will show you how to identify and execute professional-grade repairs to protect your investment.
1. Initial Assessment: Finding the Root of the Damage
Before you pick up a tool, you must accurately assess the damage. Fixing a symptom without addressing the cause is the fastest way to repeat the repair job in a few years.
The Rot Test (The “Poke Test”)
The most serious problem is timber rot, which occurs when wood moisture content remains above 20% for extended periods.
- Inspect
Look for areas where paint is bubbling, blistering, or where the wood appears dark or mossy. Rot is often found close to the ground, near windows, around door frames, and especially underneath faulty gutters or downpipes.
- Poke
Use a screwdriver or a bradawl to firmly press against the wood in suspicious spots. If the tool sinks easily into the timber with little resistance, the board has suffered internal rot and needs to be replaced. If the wood is firm, the damage is likely surface-level and can be repaired with filler.
Locating the Moisture Source
Rot is almost always caused by a persistent water issue. Before any repair, check:
- Gutters and Downpipes – Are they clogged, broken, or redirecting water directly onto the siding?
- Splashback – Is garden mulch or soil piled directly against the siding, causing water to splash back onto the lower boards?
- Failed Seals – Is the caulking around windows or trim cracked, allowing water behind the boards?
Understanding the source is key; repair the plumbing or drainage issue first.
2. Repairing Minor Damage: Splits, Cracks, and Holes
For damage that is purely cosmetic or shallow (i.e., the board is still solid), a permanent fix can be achieved using patching materials.
Addressing Small Cracks and Nail Holes
Small splits, dents, and old nail holes should be filled immediately to prevent water ingress.
- Preparation – Use a stiff brush or a wire wheel to clean any loose paint or dirt from the cracked area.
- Filling – Apply a high-quality, flexible, exterior-grade wood filler or timber putty. For thin, non-structural cracks, a paintable elastomeric sealant or caulking gun product can be ideal, as its flexibility allows it to move with the timber during temperature changes.
- Sanding – Once the filler has cured according to the manufacturer’s instructions, sand the patched area flush with the surrounding surface. Feather the edges carefully to ensure a smooth transition once painted.
Securing Loose Boards
If a board is loose but otherwise sound, re-securing it will prevent further splitting. Use ring-shanked nails or exterior-grade screws, which hold better than smooth nails. Drive the nail or screw through the board into the underlying wall stud (noggin) and ensure the head is set (recessed slightly below the surface). The resulting small depression must be filled and sanded smooth before priming.
3. Surface Preparation: The Foundation for a Lasting Finish

The most common reason for paint failure on weatherboards is poor surface preparation. When repairing siding, a professional finish requires meticulous prep.
- Scraping and Sanding
Use a tungsten carbide scraper to remove all flaking, peeling, or deteriorated paint. Follow up with a random orbital sander (using 80-grit paper, then 120-grit) to smooth out rough areas and feather the edges of the remaining paint. This step ensures a clean, uniform surface for the new paint to adhere to.
- Stripping
If a board is heavily layered with paint or paint failure is widespread, you may need to use a chemical stripper or a heat gun (use extreme caution with a heat gun, especially around old paint, which may contain lead, and never scorch the wood). The goal is to get down to the bare timber where the paint has failed.
- Priming is Critical
On any bare timber, particularly in high-humidity Australian conditions, a high-quality, oil-based exterior primer is essential. Primer seals the wood, prevents tannin bleed (especially in hardwoods), and provides a sound, adhesive base for the topcoat. Ensure you use a primer with mould and mildew inhibitors.
- Caulking Seams
After priming, but before the final topcoat, use flexible exterior caulk to seal any seams between the trim and the siding, and around windows and doors. Do not seal the bottom edge of the weatherboard lap joints; these gaps are necessary to allow any trapped moisture to escape.
4. Replacing Rotted or Seriously Damaged Boards
When the “Poke Test” reveals deep rot, the only correct solution is replacing the damaged section of the board.
- Locate the Cut Points – The goal is to replace only the rotted section. Use a stud finder to locate the vertical studs (or noggins) behind the cladding. Mark your cuts so that the new board will fasten securely into the centre of two adjacent studs (giving you maximum overlap and support).
- Make the Cuts – Set the depth of a circular saw or a multi-tool precisely to the thickness of the siding. Using a straight edge as a guide, cut vertically through the damaged board at your marked stud locations. If you are replacing multiple boards, you must start by cutting and removing the lowest damaged board first.
- Removal – Use a flat pry bar to carefully pull the damaged section of the board away from the wall. You will need to locate and snip the existing nails holding the board in place (a reciprocating saw with a metal-cutting blade works well for this). Be careful not to damage the boards above or below.
- Install the Replacement – Cut your new, pre-primed weatherboard to the exact length. Ensure the replacement timber is the same species and profile as the existing siding. Slide the replacement board into place, ensuring it overlaps the board below correctly. Nail the new board into the centre of the studs with ring-shanked nails, setting the heads slightly below the surface. Fill the nail heads immediately.
5. The Final Finish and Maintenance
A successful repair is finished with proper painting. Apply two full coats of a high-quality exterior acrylic or elastomeric paint. These paints are designed to withstand Australian UV rays and temperature changes, providing a flexible, durable seal.
For maintenance, routinely check your drainage, gutters, and the perimeter of your house for early signs of paint failure or moisture intrusion. A quick repair now saves an expensive replacement later.
Frequently Asked Questions
Why does wood siding get damaged or rot?
Wood siding is exposed to harsh weather, UV rays, and moisture. It can get damaged when water penetrates—often via failed caulking, soil or mulch pressed against the boards, or clogged gutters. Over time this leads to rot, peeling paint and wood breakdown.
How can I tell if a siding board needs repair or replacement?
Perform a “poke test” by pressing a screwdriver into suspicious areas: if the tool sinks in easily the board is likely rotten and needs replacing. If it’s firm but cracked or chipped, a patch might be sufficient. Always trace the source of the moisture that caused the damage first.
What’s the correct repair process for weatherboard siding?
Start by identifying and removing any rotten or damaged boards. Clean the area of old paint, sanding edges and clearing debris. If replacing boards, match the profile, attach securely to studs, fill nail holes, then prime and repaint. For minor damage, use a flexible exterior‑grade filler, sand smooth, prime and paint.
How can I prevent wood siding damage in the future?
Ensure water is directed away from siding by maintaining gutters and downpipes; avoid soil or mulch piled against boards; re‑seal joints around windows and doors; keep exterior paint and primer in good condition. Regular inspections and timely maintenance stop minor issues becoming major.
When should I call a professional instead of DIY?
If damage is extensive, involves many boards, reaches structural framing, or if access is difficult (e.g., high elevations or steep roofs), it’s best to engage a professional. They can ensure proper removal, matching profiles, correct fastening, and full sealing to protect the home long‑term.
Fina Thoughts
While many minor siding repairs are suitable DIY tasks, replacing large sections of cladding, dealing with rot close to the structural frame, or working at heights requires precision and expertise. Jim’s Handyman specialists are equipped with the right tools and local knowledge to handle complex weatherboard repairs, ensuring the structural integrity and aesthetic consistency of your Australian home is maintained to a professional standard.
Related articles that may interest you:
- How to Repair Wood Rot in Your House
- What are Common Problems with Beach Houses?
- How is Steel Roof Repair Done?
- What are 5 Home Repair Services Every Homeowner Needs?
- How to Repair a Leaking Shower
- How to Spot the Need for Structural Repairs of Buildings Early
- What are Common Concrete Building Repairs and Issues?
- When diy is not the best plan
- How to Repair a Sticking Door: A Practical Guide for Homeowners
- How to Repair a Door Handle: A Step-by-Step Guide