Blog Overview
Wood rot happens when moisture allows fungi to damage timber, weakening parts of your home. This guide explains how to spot rot, fix it using filler or replacement wood, and stop it from returning.
In this blog, you’ll learn:
- What are the different types of wood rot
- How to fix wood rot
- How to prevent wood rot
Repairing Wood Rot – A Guide
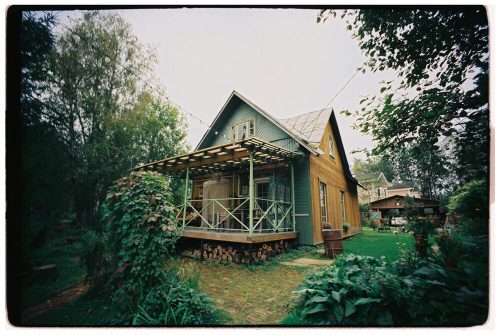
Wood rot is arguably the number one enemy of timber homes across Australia. It’s not just an aesthetic issue; it’s a living biological process where fungi consume the wood fibres, compromising the integrity of everything from your window sills and fascia to your structural deck supports. Since timber is an enduring feature of many Australian home styles—from Federation to modern weatherboard—knowing how to identify, stop, and repair wood rot is essential for protecting your property investment.
The key to any successful repair lies in understanding this simple truth: rot requires sustained moisture. By eliminating the water source and applying the correct repair methods, you can stop the decay and restore the strength of the affected timber.
1. Types and Causes of Wood Rot
Before repair can begin, homeowners must accurately identify the type and extent of the rot. Always perform the “poke test” using a screwdriver or awl to probe the affected area; if the tool sinks easily into the timber, the wood has failed and the decay is active.
Types of Rot
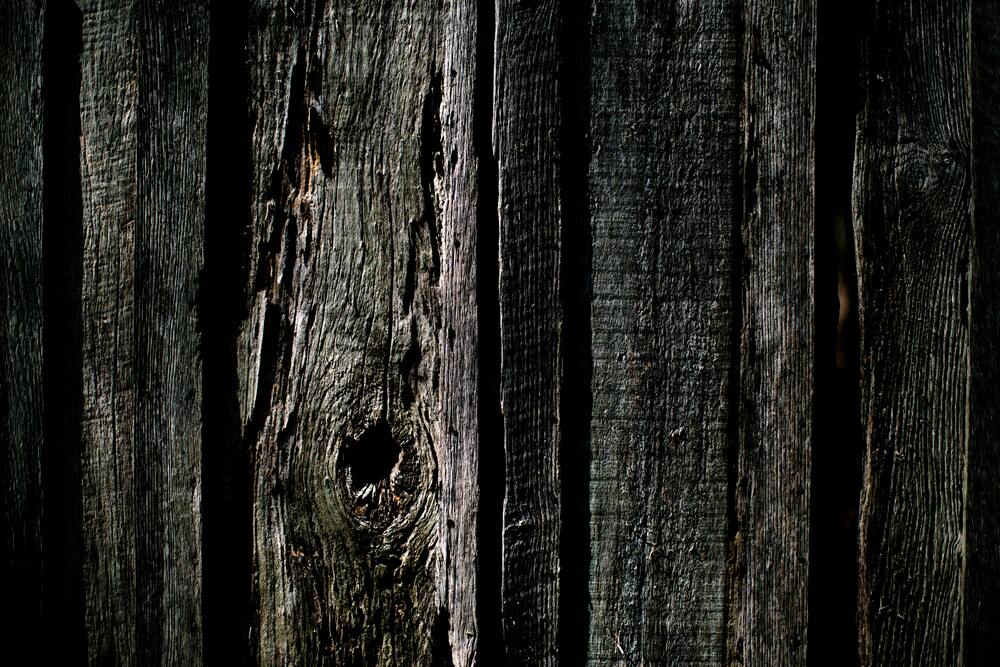
- Wet Rot (Brown Rot)
The most common form in residential homes, usually occurring near direct and obvious water sources (leaking taps, faulty gutters). The wood appears brown, soft, mushy, or stringy, and easily crumbles when dried.
- Dry Rot (Serpula lacrymans)
Misleadingly named, dry rot actually requires moisture, but it can spread through non-wood materials (like brickwork) and destroy timber further away from the original leak. It often leaves the timber looking brittle, crumbling into cube-shaped cracks. This form is serious and often requires professional remediation.
The Critical Cause
In almost every case, rot is caused by a consistent moisture source—usually a maintenance failure. Common culprits include:
- Clogged or broken gutters causing water to cascade over the fascia board.
- Paint or sealant failure on horizontal surfaces like window sills or deck ends, allowing water to wick into the end grain.
- Poor drainage or ground-to-timber contact.
2. The Two Core Repair Strategies
Wood rot repair falls into two distinct categories based on the severity of the damage:
Method 1: Restoration (Epoxy Fill)
Used for small, shallow, or non-structural areas where the rot is limited to the surface (less than 30% of the board’s thickness). This method removes the decay and uses a specialised resin to restore the wood’s shape and integrity.
Method 2: Replacement (Cut and Replace)
Required for deep, structural, or widespread rot. This involves cutting out the affected section of timber—or the entire board—and replacing it with new, appropriately treated wood.
3. Method 1: Restoring Minor Rot with Epoxy Filler
Epoxy repair is highly effective for common Australian trouble spots like window sills, decorative trim, and non-structural corner boards.
- Eliminate the Moisture Source
This is the most critical step. If you are repairing a window sill, re-caulk the window frame above it; if it’s a fascia board, repair the gutter leak. The wood must be kept dry moving forward.
- Remove All Decayed Wood
Using a chisel, scraper, wire brush, or even a rotary tool (Dremel), scrape and chisel away all soft, decayed wood until you reach solid, sound timber. The cavity must be clean and completely dry before proceeding.
- Apply Wood Hardener/Consolidant
Saturate the remaining wood fibres in the cavity with a liquid epoxy or wood hardener. This chemical consolidant soaks into the porous, slightly weakened wood surrounding the repair area, hardening it and creating a stable, waterproof base for the filler. Allow this to cure fully.
- Fill with Epoxy Putty
Mix a two-part epoxy putty or a high-performance polyester filler (following the manufacturer’s instructions). Press the putty firmly into the cavity, ensuring no air bubbles are trapped. Oversize the fill slightly to allow for shaping.
- Shape and Finish
Once the epoxy has cured (which can take anywhere from an hour to a day, depending on the product and temperature), use a plane, rasp, or sandpaper to carefully shape the patch flush with the original timber profile. Prime and paint the repaired area immediately.
4. Method 2: Replacing Extensive or Structural Rot

If the rot has compromised a large section of a board or affects a structural element (like a deck joist or a post), replacement is mandatory for safety and longevity.
Key Steps for Replacement
- Shoring Up (for Structural Elements)
If you are replacing a load-bearing post or a large section of a beam (deck bearer), you must temporarily support the load with temporary shoring or jacks before cutting.
- Precision Cutting
For a non-structural board like a fascia or siding, use a reciprocating saw or an oscillating multi-tool to make clean, straight cuts well outside the damaged area, ensuring your cuts land on an underlying stud or secure structural member where possible.
- Use Treated Timber
Always replace exterior timber with the correct grade of treated pine or naturally durable timber species suitable for the Australian environment. For instance, in contact with the ground, use H5 treated timber; for exposed decking and framing, use H4.
- End Grain Preservation
When installing the new timber, it is crucial to liberally coat all cut ends with an end-grain preservative or a thick coat of oil-based primer before installation. End grain acts like a sponge for water, and protecting it is the single most important step against future rot.
- Fastening and Sealing
Fasten the new timber securely using exterior-grade screws or galvanised/stainless steel nails. Seal all seams and joints with a flexible exterior caulk before priming and painting.
5. Prevention is the Best Cure
The key to lifelong wood protection lies in routine maintenance, focusing on the five most vulnerable areas: window sills, corner boards, fascia boards, deck ends, and any exposed railings.
- Maintain the Seal
Regularly inspect and refresh the paint, stain, or sealant on these areas. Horizontal surfaces need more frequent attention than vertical ones.
- Keep it Clear
Ensure gutters and downpipes are clear and directing water well away from the house.
- Clearance
Maintain proper ventilation and ensure mulch, plants, or soil are not piled directly against the foundation or lower cladding, preventing water splashback and maintaining airflow.
Frequently Asked Questions
What causes wood rot?
Wood rot is caused by fungi that grow when timber stays damp for a long time.
How can I tell if wood is rotten?
If a screwdriver pushes in easily or the wood feels soft, crumbly, or spongy, it is likely rotted.
How do I repair minor wood rot?
Remove the damaged wood, apply a wood hardener, then fill the area with epoxy or wood filler.
When should wood be replaced instead of repaired?
If the rot is deep, widespread, or affects a structural area, the damaged section should be cut out and replaced.
How can I prevent wood rot in the future?
Keep surfaces sealed, fix leaks quickly, maintain gutters, and avoid letting timber stay wet.
Should I call a professional?
If the damage is large, structural, or you’re unsure how to repair it, it’s best to call a trained handyman.
Final Thoughts – Professional Assistance for Rot Repair

While addressing small areas of decay is manageable for the homeowner, tackling severe, deep, or structural wood rot requires specific expertise and tools to ensure the repair is safe, lasting, and compliant. For complex timber replacement, structural repairs, or large-scale restoration projects across your Australian home, Jim’s Handyman specialists are equipped to handle the job. Our team ensures all repairs are executed using the correct moisture-resistant materials and professional techniques to stop rot permanently and protect your property.
Related articles that may interest you:
- How to Repair Wood Siding
- What are Common Problems with Beach Houses?
- How is Steel Roof Repair Done?
- What are 5 Home Repair Services Every Homeowner Needs?
- How to Repair a Leaking Shower
- How to Spot the Need for Structural Repairs of Buildings Early
- What are Common Concrete Building Repairs and Issues?
- When diy is not the best plan
- How to Repair a Sticking Door: A Practical Guide for Homeowners
- How to Repair a Door Handle: A Step-by-Step Guide