A smooth, uniform finish is what makes plastered walls and ceilings look polished and professional. But sometimes, after repairs or renovations, you may notice a texture mismatch—areas of plaster that don’t blend seamlessly with the surrounding surface. This can happen when new plaster is applied over old plaster, or when repairs are made with a slightly different technique or material. Luckily, with the right approach, you can restore a consistent texture and make your walls look flawless again.
In this Jim’s Handyman guide, you’ll learn:
- What is texture mismatch
- What causes texture mismatch
- How to identify it
- How to fix a plastered area with texture mismatch
- When to call a plastering professional
Understanding Texture Mismatch in Plaster
Texture mismatch occurs when the surface finish of new plaster doesn’t match the existing walls or ceiling. This can be subtle, such as a slight difference in smoothness, or more obvious, like rough patches or patterns that don’t align with the original texture.
Common Causes
- Different Application Techniques
The tools, strokes, and methods used to apply plaster can affect the final texture. For example, using a trowel versus a sponge float can create noticeable differences. - Variations in Plaster Mix
Different brands, drying times, or water-to-plaster ratios can result in a texture that doesn’t match the original. - Old vs. New Plaster
Over time, plaster can change color, shrink slightly, or develop minor cracks, making new patches stand out. - Poor Feathering
When the edges of new plaster are not blended carefully into the old surface, a visible line or bump may appear.
Identifying Texture Mismatch
Detecting texture mismatch early helps plan the repair properly. Look for:
- Differences in smoothness or grain
- Visible lines or ridges where new plaster meets old
- Uneven sheen or shadowing under light
- Areas that catch dust or dirt differently
Often, texture mismatches are most noticeable in well-lit rooms, on large walls, or under direct sunlight.
Step-by-Step Guide to Fix Texture Mismatch

1. Assess the Area
Examine the patch to determine the severity of the mismatch. Light mismatches may only require sanding and blending, while larger areas may need reapplication of plaster.
2. Prepare the Surface
Remove any loose or flaking plaster around the area. Clean the surface to remove dust and debris. For smoother adhesion, lightly sand the edges where new plaster meets the old.
3. Mix Matching Plaster
Use plaster that is compatible with your existing wall. If possible, use the same type and brand. Mix carefully according to manufacturer instructions, keeping water-to-plaster ratios consistent to match the texture of the surrounding area.
4. Apply Plaster in Layers
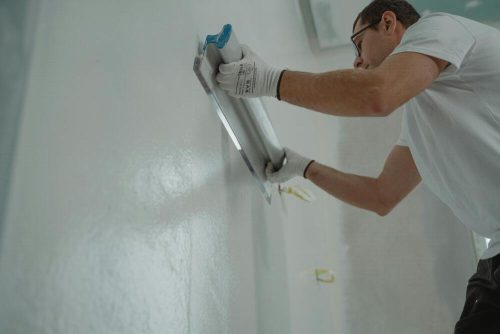
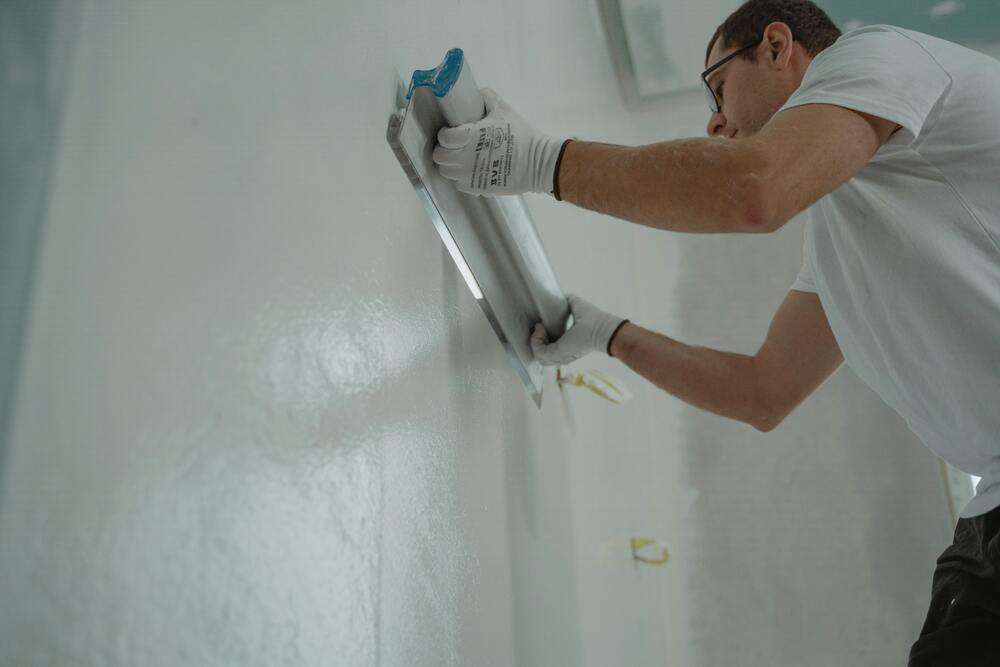
For minor corrections, thin layers are better. Apply a small amount of plaster with a trowel or float, carefully mimicking the original technique (swirl, smooth, or stipple). For larger areas, multiple thin layers may be necessary to gradually build up and blend into the existing texture.
5. Feather the Edges
Feathering is key to a seamless repair. Gradually taper the edges of the new plaster into the old surface using a trowel or sponge. The goal is to make the transition invisible to the eye and touch.
6. Texture Matching
To replicate the existing texture:
- Smooth Finish – Use a trowel or sponge float for consistent smoothness.
- Knockdown Texture – Lightly tap the plaster with a wide knife or brush to match the pattern.
- Swirl or Stipple – Recreate the motion of the original application tool.
Take your time here—texture matching is as much an art as it is a technique.
7. Allow to Dry
Let the plaster dry completely, typically 24–48 hours depending on thickness and environmental conditions. Avoid painting until fully cured to prevent the new area from showing as a different shade.
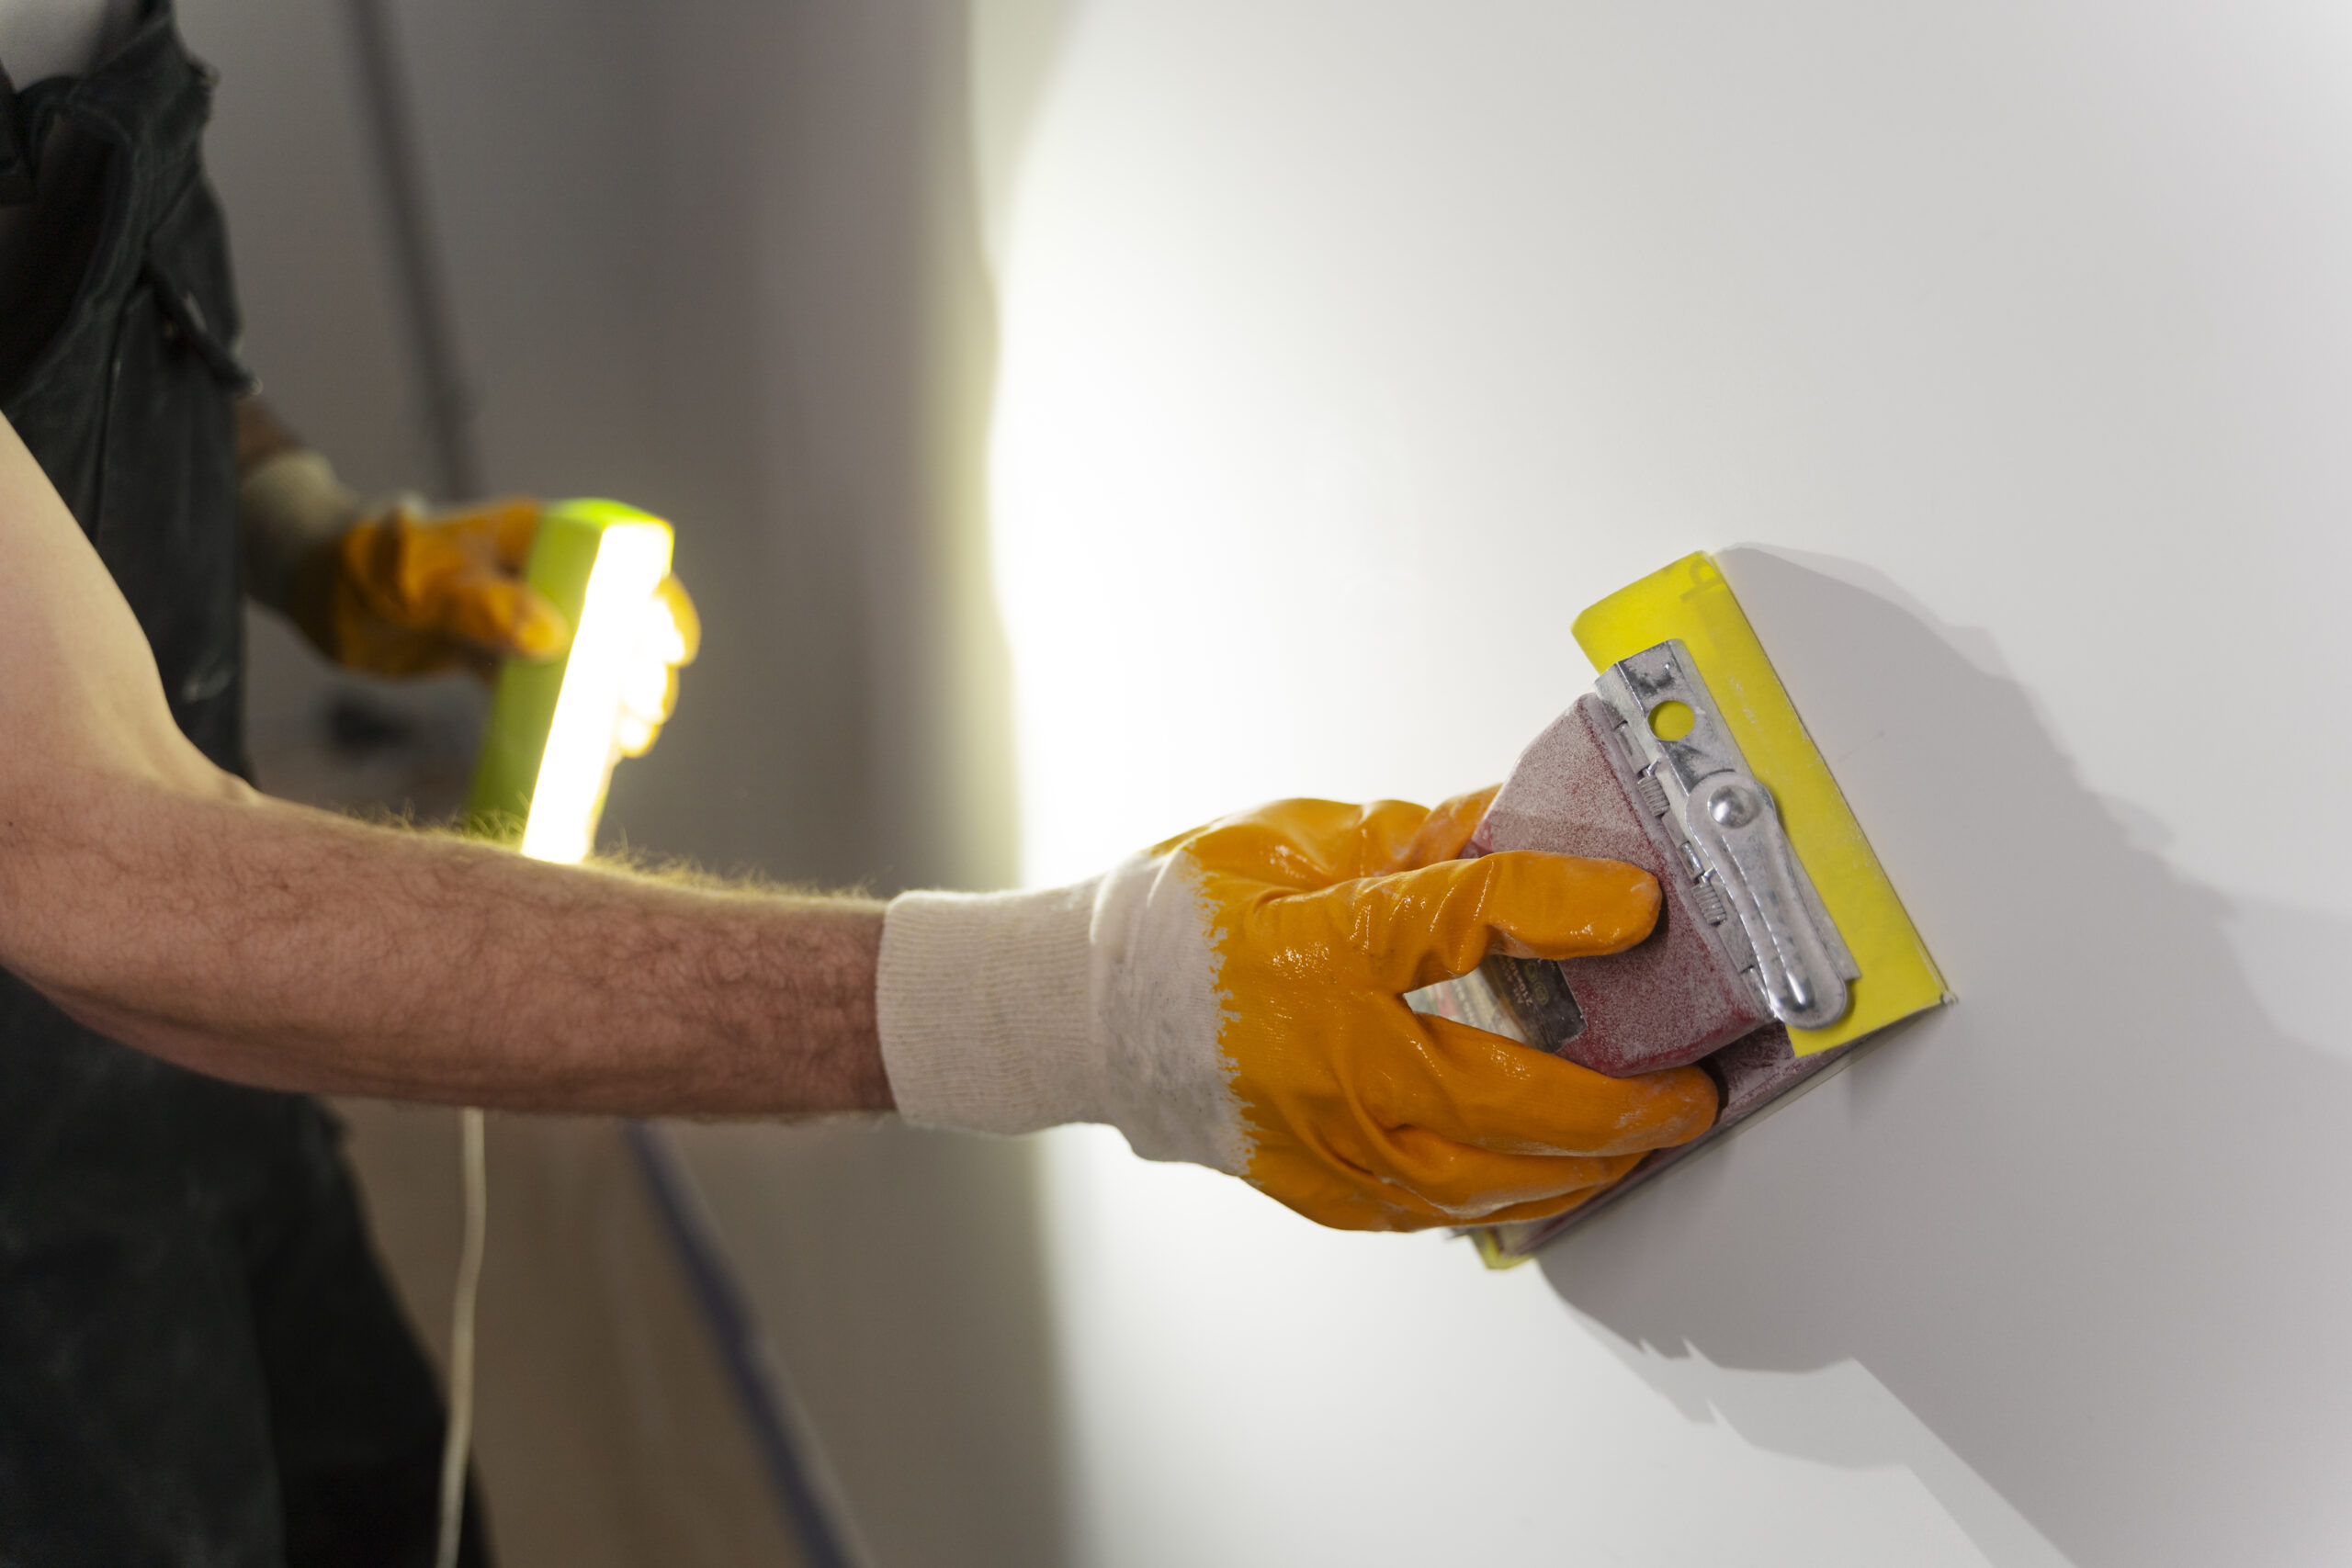
8. Sand and Touch-Up
Once dry, lightly sand to smooth any imperfections. Clean the area and then prime and paint the wall or ceiling to unify the color and finish.
Tips for a Professional Finish
- Test Small Sections First – Practice on a small area to get the right technique.
- Consistent Mixing – Keep plaster batches consistent to avoid subtle differences in texture.
- Proper Lighting – Check your work under natural and artificial light to spot mismatched areas.
- Patience is Key – Layering and feathering slowly produces better results than rushing.
By taking a methodical approach, even tricky texture mismatches can be repaired to look seamless.
Need Expert Plastering Help?
Texture matching can be challenging, especially on large areas or older walls where plaster has aged unevenly. Jim’s Handyman offers professional plastering services to help homeowners achieve smooth, flawless walls and ceilings. Whether it’s repairing mismatched textures, fixing cracks, or restoring damaged plaster, our team ensures a perfect, long-lasting finish that blends seamlessly with your home.
Conclusion
Plaster texture mismatches may seem like a minor cosmetic issue, but they can significantly impact the overall look of a room. Understanding why mismatches occur, assessing the area, and following careful repair steps are key to restoring a consistent and polished finish.
For homeowners who want a hassle-free, professional solution, Jim’s Handyman is ready to help—making sure your plaster repairs are smooth, perfectly blended, and visually flawless.