Plastering issues are a common headache for homeowners, and one of the most frustrating problems is delamination or debonding—when plaster separates, peels, or flakes away from the wall or ceiling surface. This not only affects the aesthetics of your home but can also signal underlying structural or moisture problems that need attention.
In this Jim’s Handyman guide, we will learn:
- What causes delamination
- How to identify it
- Step-by-step solutions to fix it effectively
Understanding Delamination and Debonding

Delamination occurs when the plaster loses its adhesion to the substrate—the surface it was applied to, such as brick, concrete, or drywall. Over time, this can lead to peeling, bubbling, or cracking. While it may seem purely cosmetic, ignoring delamination can allow moisture to penetrate your walls, leading to further damage like mould, weakening of the plaster, and even structural concerns in severe cases.
Common Causes
- Moisture and Water Damage
One of the main causes of plaster debonding is water intrusion. Leaks from plumbing, roof damage, or high humidity can weaken the bond between plaster and its substrate. - Poor Surface Preparation
If the wall or ceiling wasn’t properly cleaned, primed, or allowed to dry before plastering, adhesion can fail over time. - Incompatible Materials
Using the wrong type of plaster for the substrate or mixing old plaster with new without proper bonding agents can cause separation. - Structural Movement
Even minor shifts in the building’s structure or vibrations from construction work can cause plaster to detach from walls or ceilings.
Identifying Delamination Early
Spotting plaster delamination early can save both time and money. Signs to look out for include:
- Bubbling or Blistering – Raised sections of plaster that appear as bubbles on the surface.
- Cracking and Flaking – Small cracks that grow over time and eventually cause pieces of plaster to fall off.
- Visible Separation – Sections of plaster pulling away from the wall, sometimes producing a hollow sound when tapped.
Regularly inspecting walls and ceilings, especially in older homes or areas prone to moisture, can help catch issues before they worsen.
Step-by-Step Fix for Delaminated Plaster

Fixing plaster delamination involves careful preparation and attention to detail. Here’s a practical approach and how a plastering professional would do it:
1. Assess the Damage
Before starting any repair, determine the extent of the delamination. Tap the plaster lightly with a hammer or screwdriver; a hollow sound indicates areas that are loose. Mark these sections with a pencil for targeted repair.
2. Remove Loose Plaster
Use a chisel or putty knife to gently remove any loose or flaking plaster. Avoid damaging the underlying wall, but make sure to remove all compromised material to prevent future peeling.
3. Clean the Surface
Dust, debris, and loose plaster fragments can prevent a strong bond. Vacuum or brush the exposed substrate, and if the wall is particularly dusty, wipe it with a damp cloth and allow it to dry completely.
4. Apply a Bonding Agent
A plaster bonding agent or PVA (polyvinyl acetate) primer helps the new plaster adhere to the old surface. Apply the agent to both the substrate and the edges of the existing plaster as per the manufacturer’s instructions.
5. Mix the Plaster
Choose the correct plaster type for your wall or ceiling. Standard gypsum plaster works for most interiors, while cement-based plasters are suitable for areas exposed to moisture. Mix the plaster to a smooth consistency, avoiding lumps.
6. Reapply the Plaster
Using a trowel, carefully apply a thin layer of plaster over the cleaned area, pressing firmly to ensure it bonds with the substrate. Feather the edges to blend with the existing wall for a smooth finish. For deeper areas, multiple layers may be required, allowing each to set before applying the next.
7. Smooth and Finish
Once the plaster is applied, smooth it out with a trowel or a sponge float. Pay attention to blending the repair seamlessly with the surrounding surface. Allow the plaster to dry completely, which can take anywhere from 24 hours to a few days depending on thickness and environmental conditions.
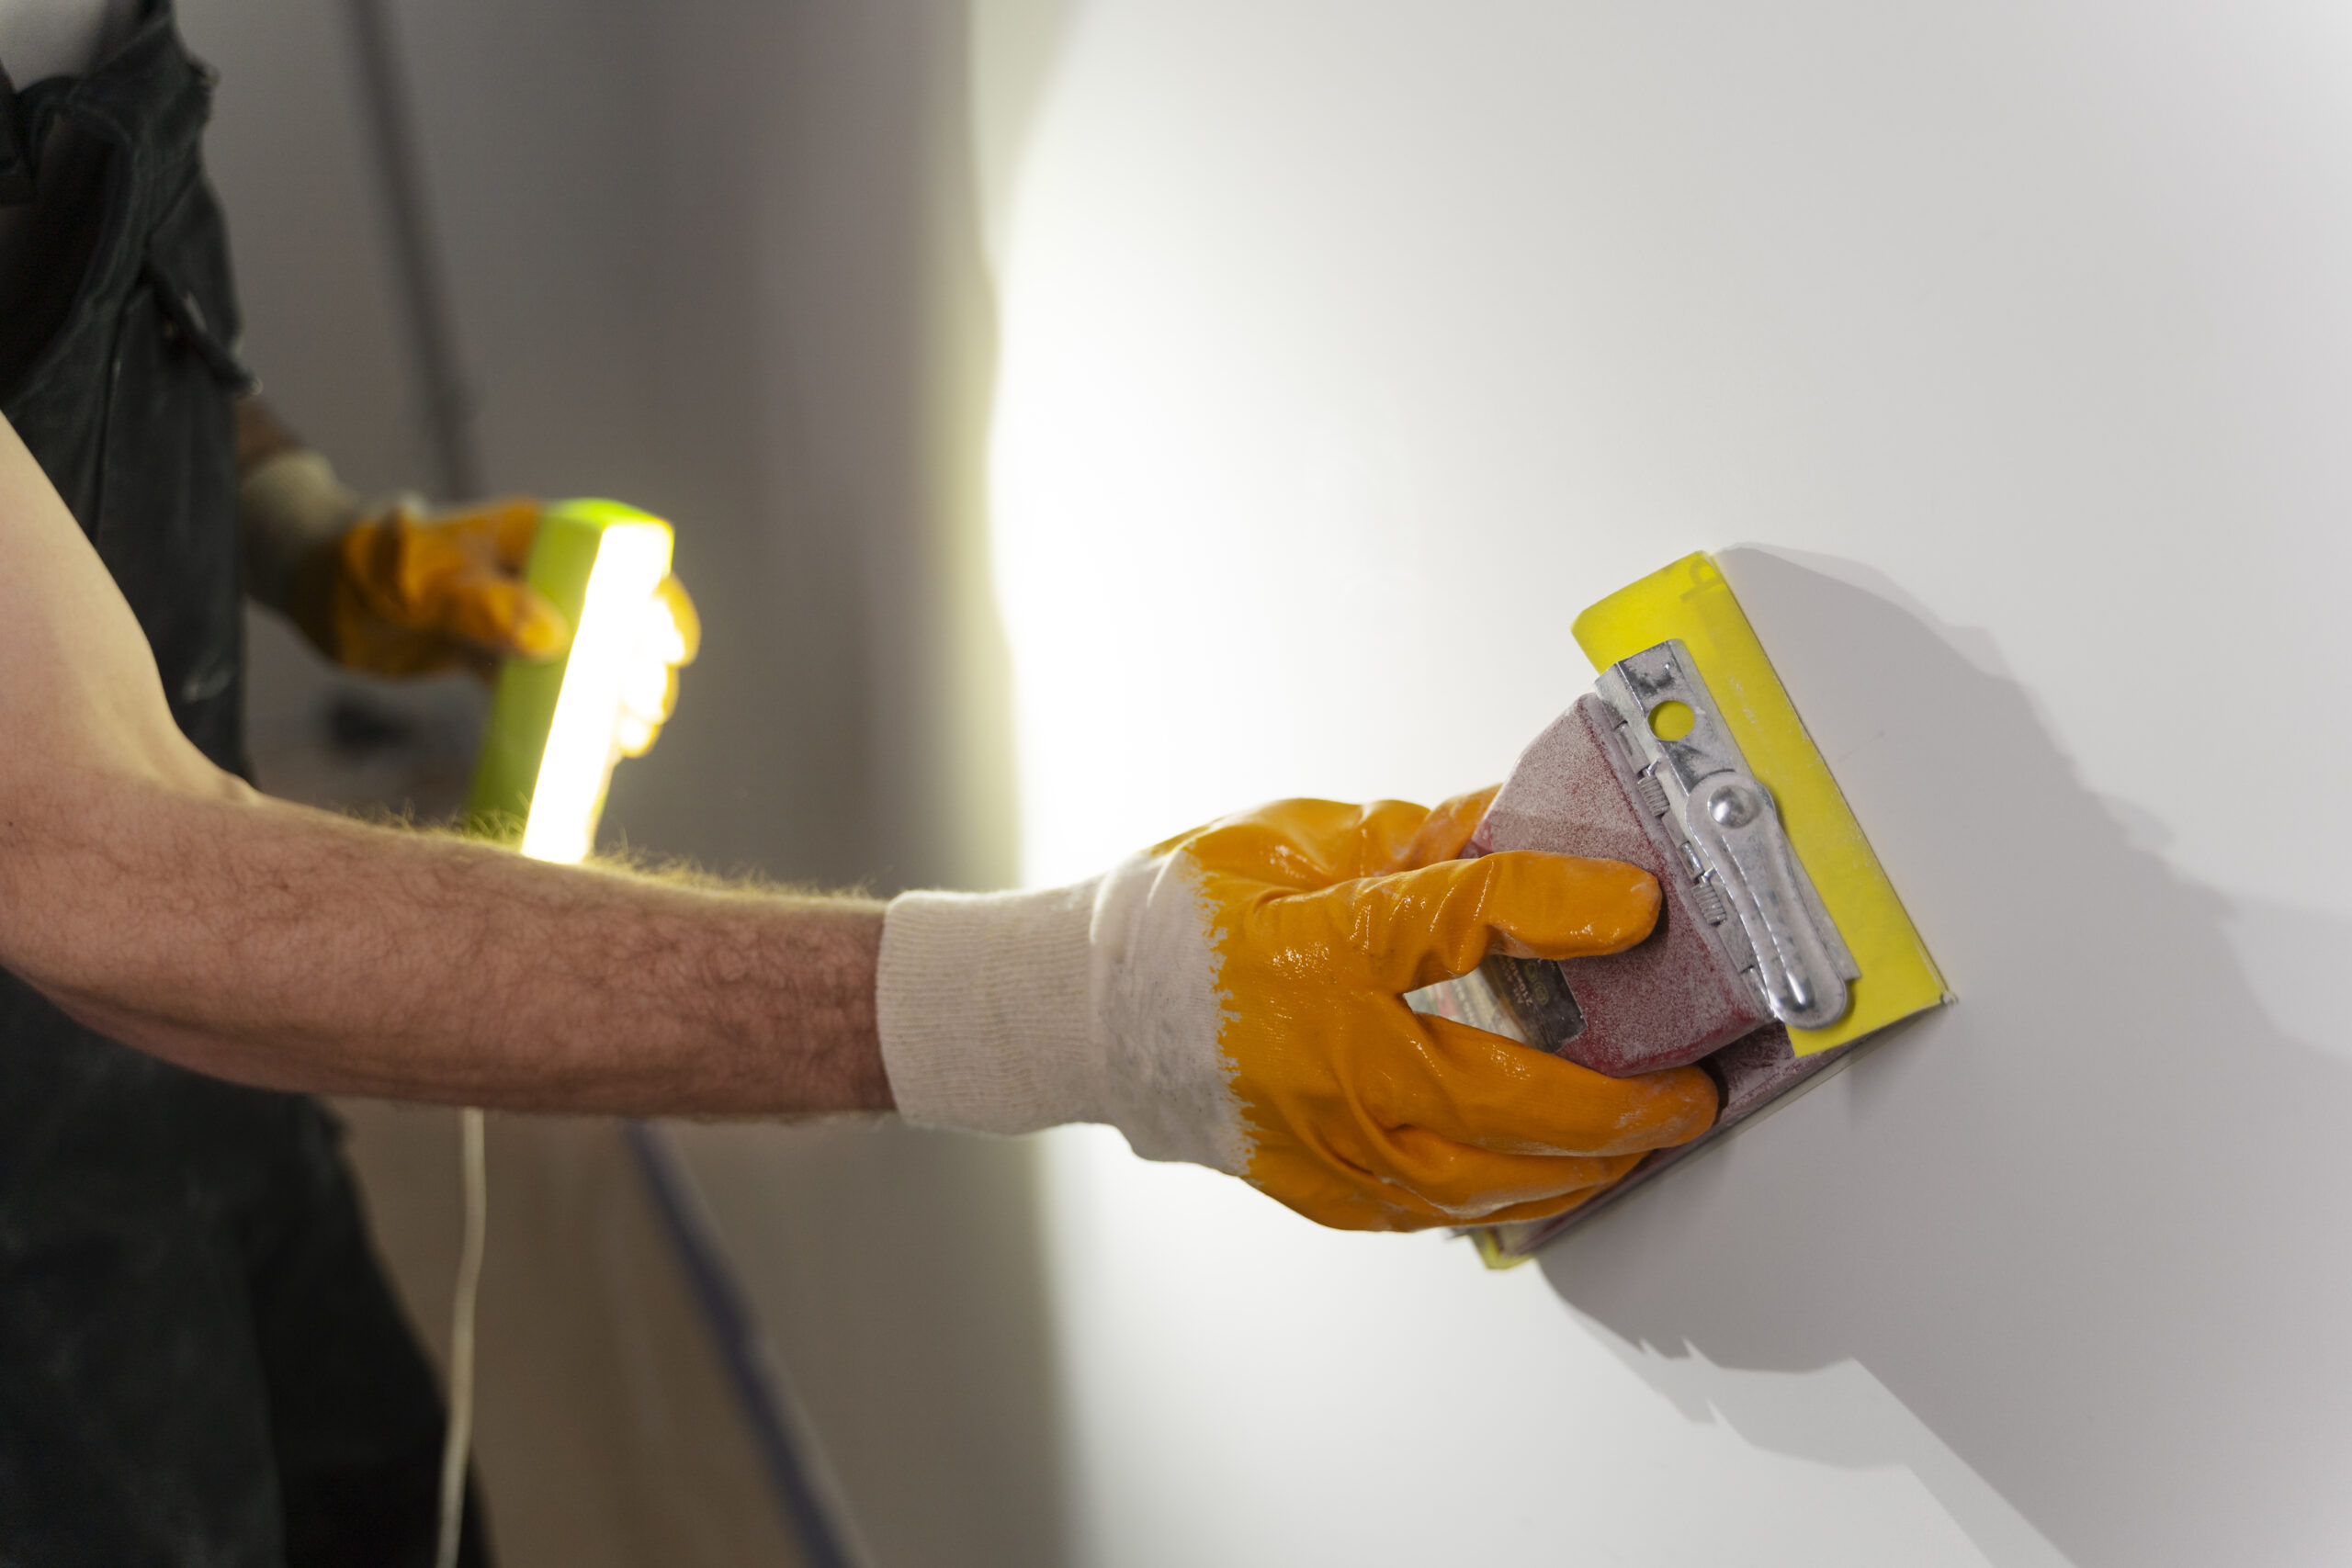
8. Sanding and Painting
After the plaster is fully dry, lightly sand the area to achieve a smooth finish. You can then prime and paint the repaired section to match the rest of the wall or ceiling.
Preventing Future Delamination

Prevention is always better than cure. Here are some tips to reduce the risk of plaster debonding in the future:
- Control Moisture – Fix leaks immediately and use dehumidifiers in damp areas.
- Use Quality Materials – Ensure you’re using plaster suitable for your wall type.
- Proper Surface Prep – Always clean, dry, and prime surfaces before plastering.
- Regular Inspections – Check your walls and ceilings periodically for early signs of damage.
By addressing minor issues early, you can prevent costly repairs down the line and maintain the integrity of your plastered surfaces.
Need Professional Help?
Fixing delamination can be tricky, especially if the affected area is extensive or difficult to reach. For homeowners who want guaranteed results without the hassle, our team at Jim’s Handyman offers professional plastering services. We can assess your walls, repair peeling or flaking plaster, and ensure a smooth, long-lasting finish—keeping your home looking its best.
Conclusion
Plaster delamination and debonding might seem like minor cosmetic issues, but they can escalate if ignored. Understanding the causes, spotting early warning signs, and following a careful repair process are key to restoring your walls and ceilings. Whether tackling the repair yourself or seeking professional assistance, addressing plaster issues promptly helps maintain both the appearance and integrity of your home.
For reliable, high-quality plastering services, Jim’s Handyman is ready to help—ensuring your walls are smooth, secure, and flawless.
